User verification with email (Self-serve)
This guide focuses on the self-serve email verification approach, which offers the best balance of simplicity, security, and user experience for most applications.
Getting Started
Verify user email addresses with Scute in just a few steps:
- Create a Scute App: Sign up and create your app
- Get API Credentials: Copy your App ID and API Secret from the dashboard
- Create M2M Token: Use your API key to generate machine-to-machine authentication tokens
- Send Verification Requests: Use our API to create email verification requests
Email verification works by sending users a secure magic link that they click to verify their email address.
Creating the VerificationRequest
You can create verification requests in two ways:
- Using the Scute Dashboard: Create requests manually from the Scute dashboard
- Using the API: Create requests programmatically by making a POST request to our API
API Method
To create a verification request programmatically, send a POST request to the verification endpoint:
POST https://api.scute.io/v1/verify/:app_id/verifications
Authentication
This endpoint requires M2M (Machine-to-Machine) authentication. Create an M2M token from your Scute dashboard:
# Get M2M token first
curl -X POST "https://api.scute.io/v1/auth/m2m/token" \
  -H "Content-Type: application/json" \
  -d '{"api_key": "your_api_key"}'
Request Parameters
| Parameter | Type | Required | Description |
|---|---|---|---|
app_id | string | Yes | Your Scute application ID (in the URL path) |
identifier | string | Yes | The email address to verify |
channel | string | Yes | Must be "email" for email verification |
verification_type | string | Yes | Must be "standard" for basic email verification |
reason | string | No | Description of why verification is needed |
metadata | object | No | Additional data for the verification |
Example Request
// Using fetch
const response = await fetch('https://api.scute.io/v1/verify/your-app-id/verifications', {
  method: 'POST',
  headers: {
    'Content-Type': 'application/json',
    'X-Authorization': 'your_m2m_access_token'
  },
  body: JSON.stringify({
    identifier: 'user@example.com',
    channel: 'email',
    verification_type: 'standard',
    reason: 'Account email verification',
    metadata: {
      user_source: 'website_signup'
    }
  })
});

const data = await response.json();
console.log(data.verification_id); // Use this ID to track verification status
cURL Example
curl -X POST "https://api.scute.io/v1/verify/your-app-id/verifications" \
  -H "Content-Type: application/json" \
  -H "X-Authorization: your_m2m_access_token" \
  -d '{
    "identifier": "user@example.com",
    "channel": "email",
    "verification_type": "standard",
    "reason": "Account email verification"
  }'
Response
{
  "verification_id": "uuid-string",
  "status": "pending",
  "channel": "email",
  "created_at": "2024-01-15T14:30:00Z"
}
- API creates a new Scute User if one doesn't exist with the provided email
- Returns a verification request object with a unique ID for tracking status
- User receives an email with a magic link to complete verification
User Flow
Here's what happens during the email verification process:
-
Email Delivery: The user receives an email containing a magic link. You can customize the email template through the Scute dashboard.
-
Magic Link Interaction: When the user clicks the magic link, they are directed to your custom Scute app domain (
your-app.scute.app).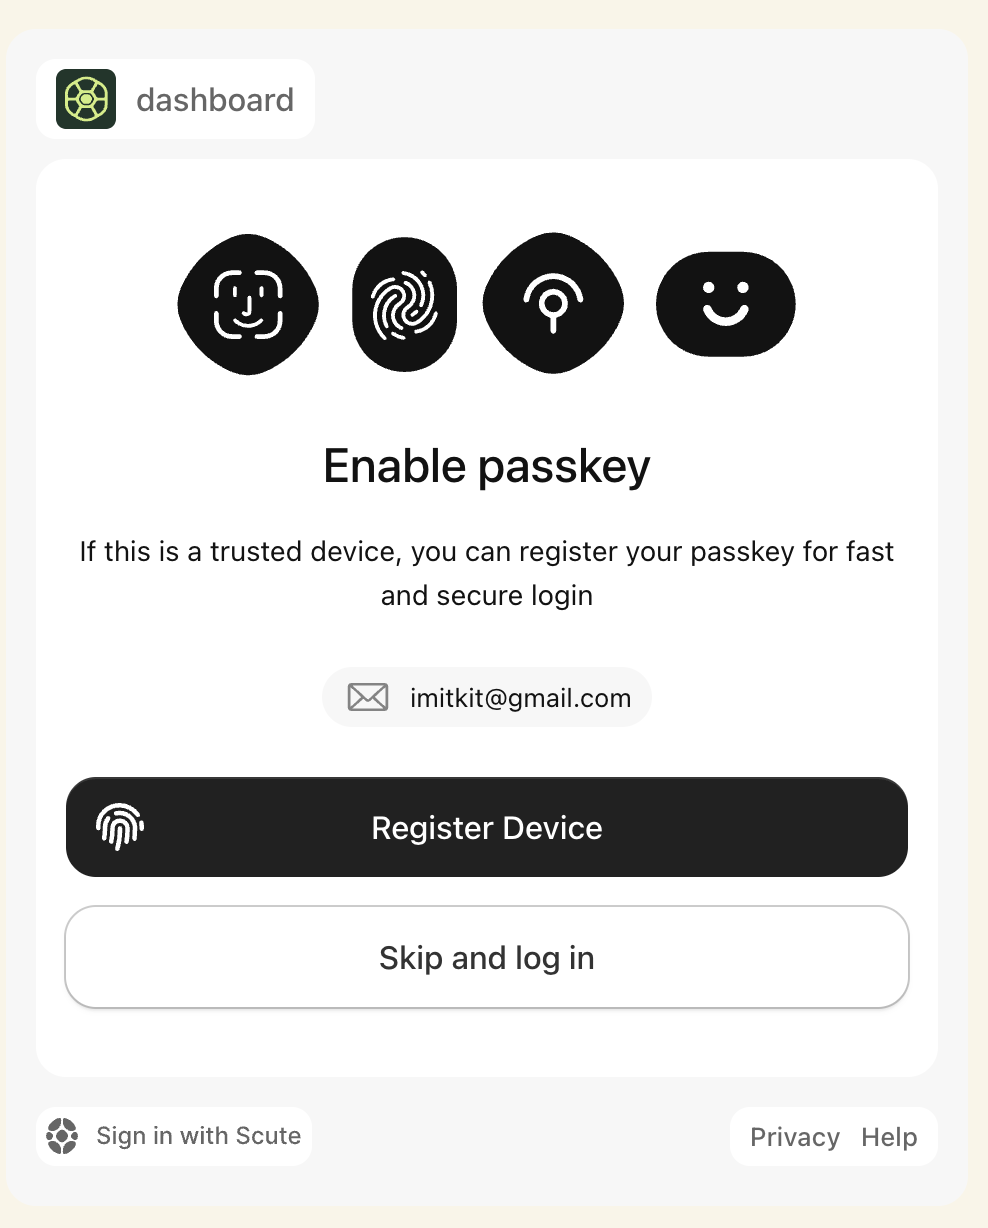
-
Authentication: The user completes authentication on this page. You can enable or disable passkeys support for this step based on your security requirements.
-
Verification Completion: Upon successful authentication, the VerificationRequest status changes to "verified" and your application can proceed with the intended action.